Technical manual
# Introduction
This manual is written for developers. You can get the Rabo Smart Pay plugin at the Craft Plugin Store (opens new window).
This manual has been carefully compiled by WHITE Digital Agency. You are not allowed to distribute this Craft manual without first asking our permission. Any brands and logos mentioned are the property of Pixel & Tonic (opens new window) and Rabobank (opens new window).
Additions or comments? Let us know! Together we can help others have a great Craft experience.
There is also a manual for Craft CMS and Craft Commerce available.
# Requirements
- This plugin requires Craft CMS
^4.17.9or^5.8.0. - This plugin requires Craft Commerce version
^4.11.0or^5.5.0. - A valid Rabo Smart Pay account is required. Don't have an account yet? See the Rabo Smart Pay Setup section.
- To configure the plugin, changing settings should be allowed in Craft (allow admin changes) (opens new window), and a user who is an Admin in Craft.
# Installation
You can install this plugin from the Plugin Store or with Composer.
# From the Plugin Store
Go to the Plugin Store in your project’s Control Panel and search for “Rabo Smart Pay”. Then press “Install”.
# With Composer
Open your terminal and run the following commands:
# go to the project directory
cd /path/to/my-project.test

# tell Composer to load the plugin
composer require white-nl/commerce-rabo-smart-pay

# tell Craft to install the plugin
./craft plugin/install commerce-rabo-smart-pay
# Rabo Smart Pay Setup
# Request access
- Go to the Rabo Smart Pay website (opens new window) and click on
Vraag Rabo Smart Pay aan. - Login with your business card and the Rabo Scanner. Then, under payment solutions, select
Overige producten. - On the next page, check your global business details and complete where necessary.
- On the next page, check the overview and sign the request with your business card and the Rabo Scanner.
- After signing, you will have access to the Rabo Smart Pay dashboard
For more information about access to the Rabo Smart Pay dashboard, please refer to the Rabo Smart Pay documentation (opens new window).
# Generate webshop keys
- Login to your Rabo Smart Pay dashboard (opens new window) and click on
Apps->Rabo Smartpay.
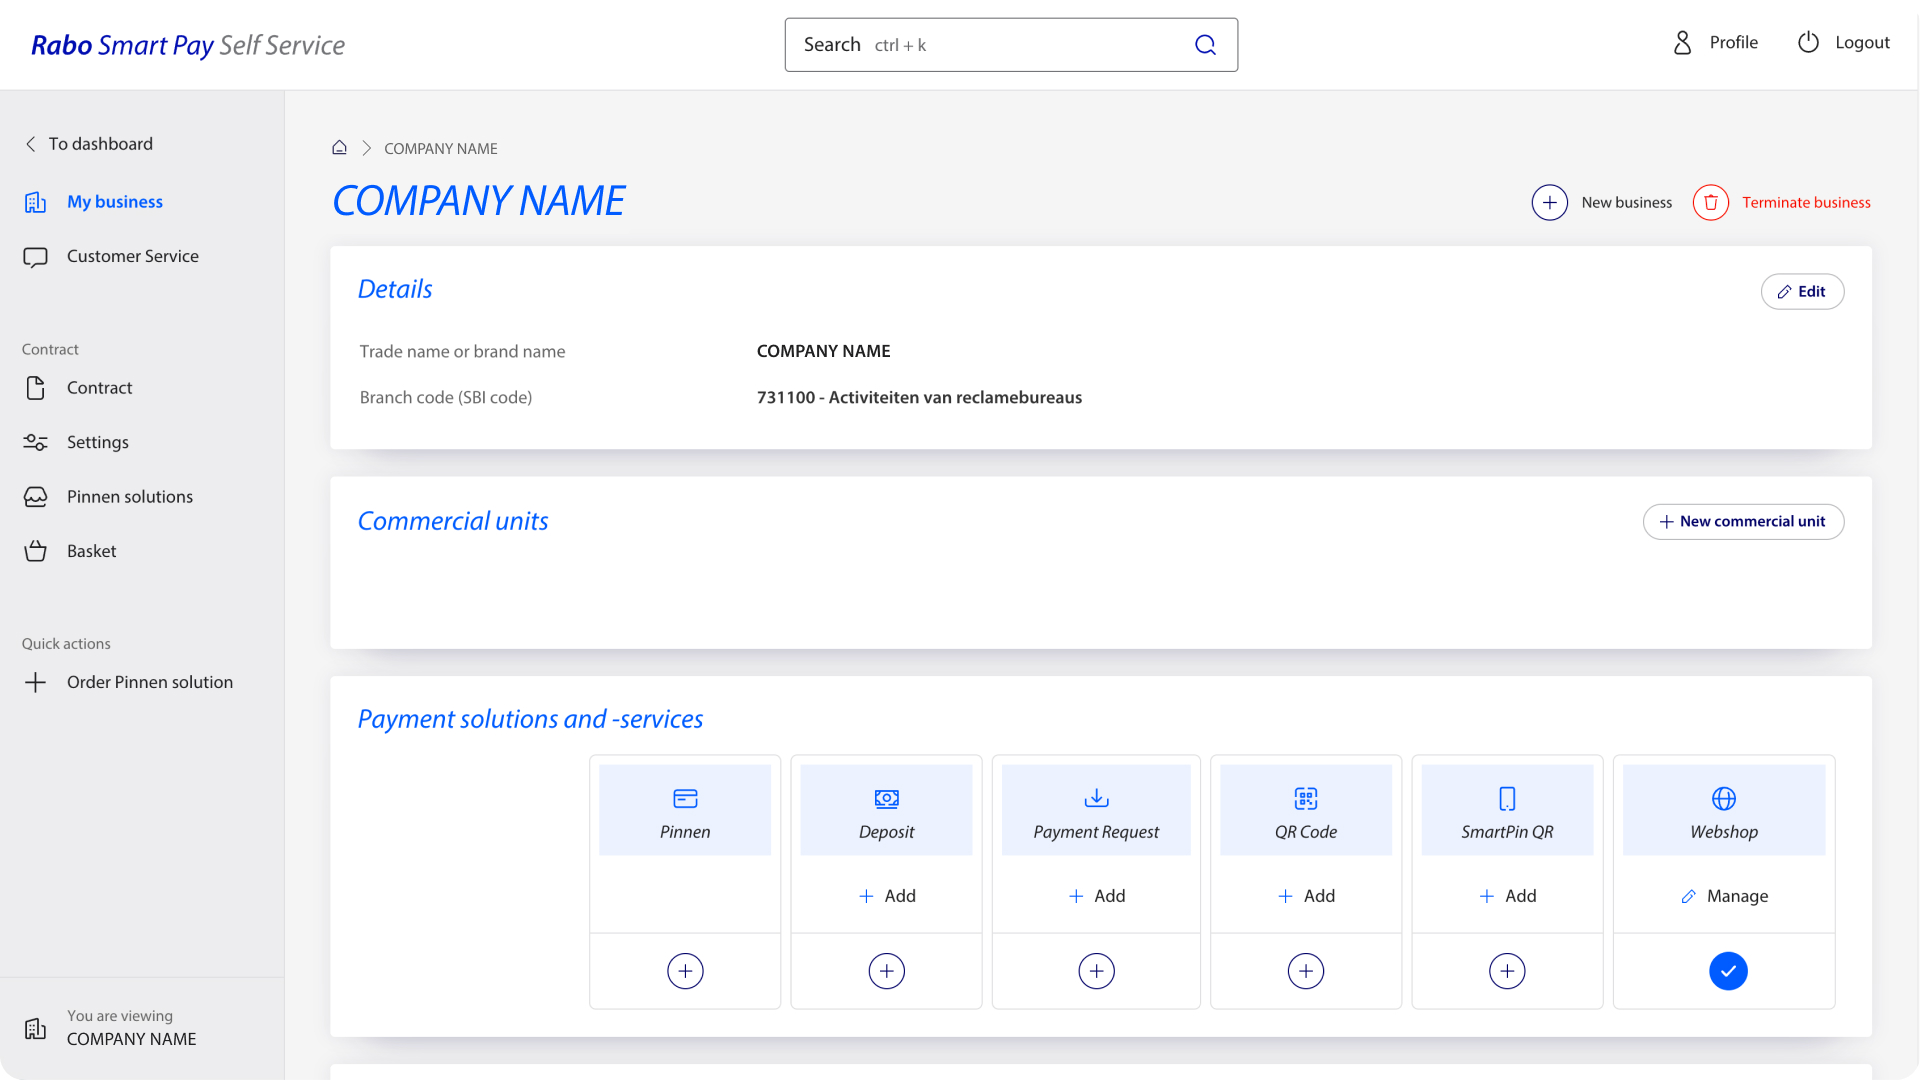
- In the
Self Servicetab, underCommercial unitclick onnew commercial unit.
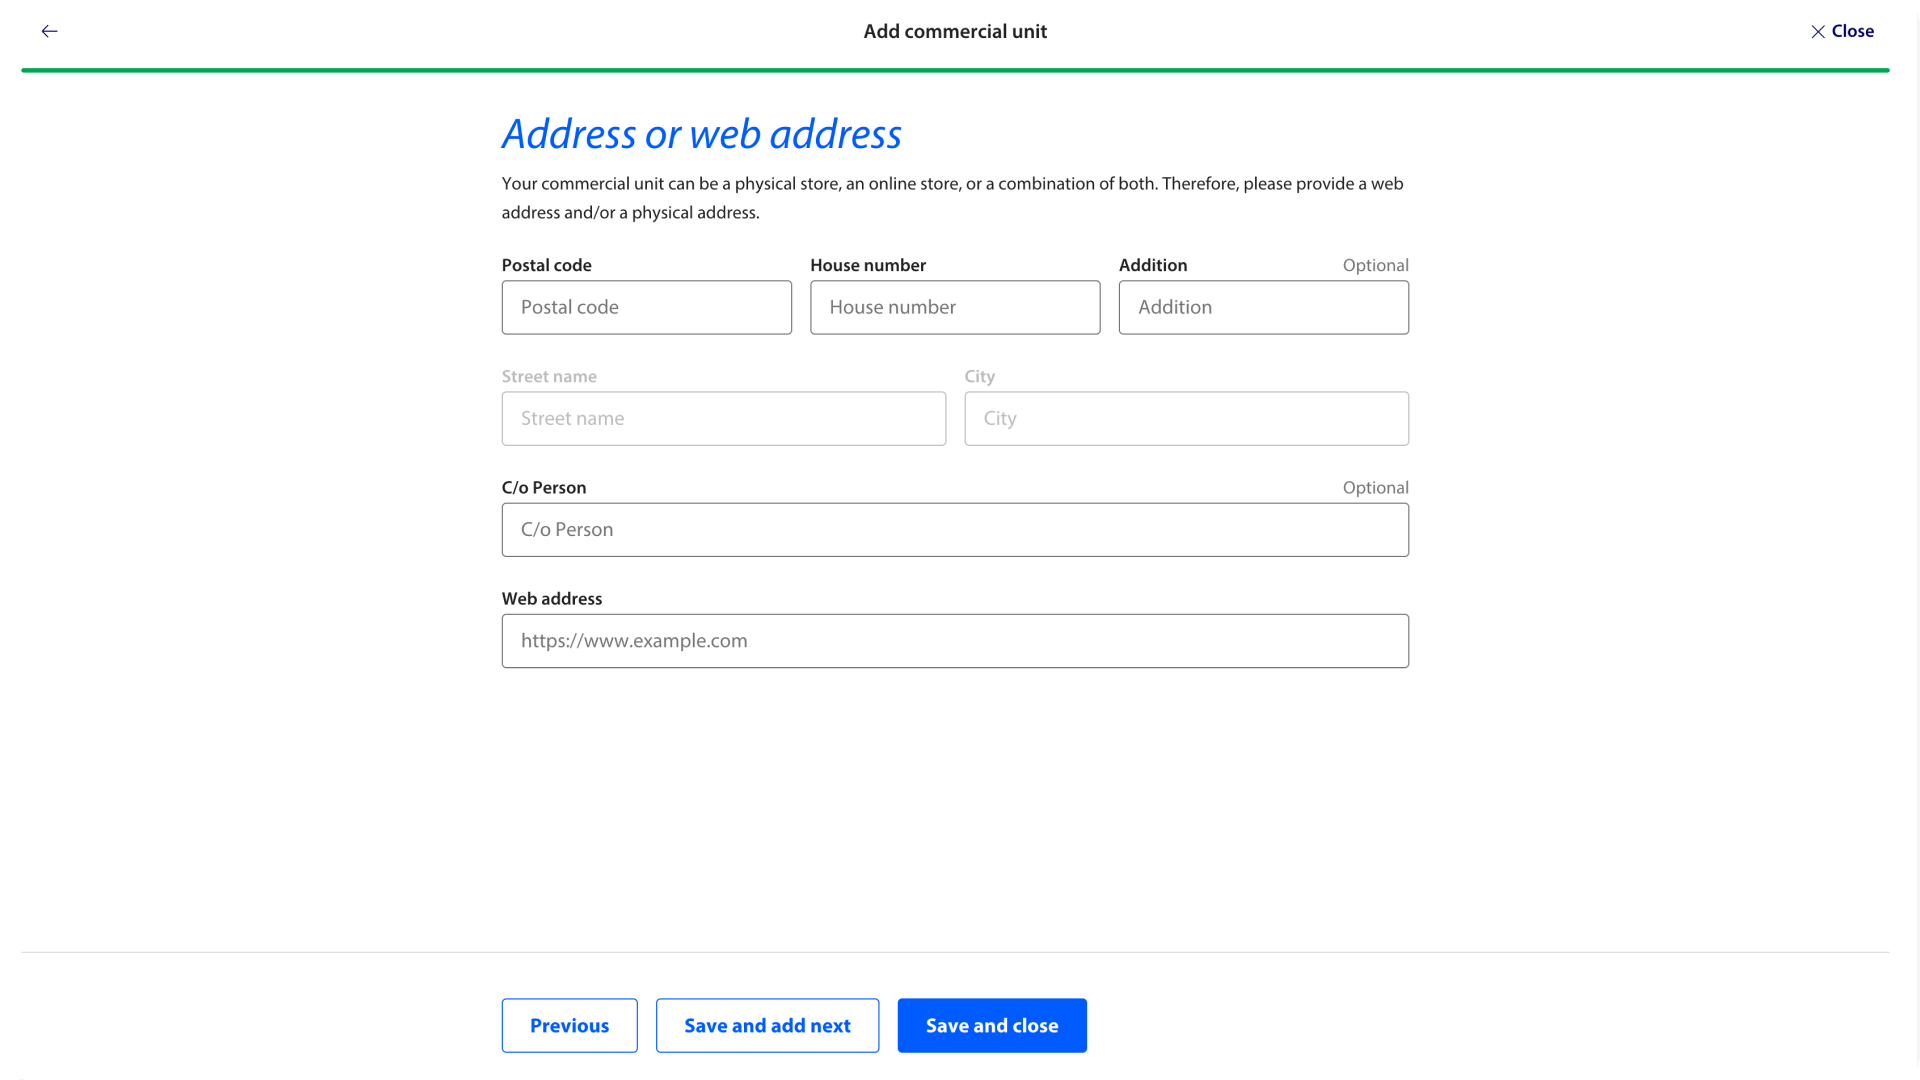
- Fill in the name and details of your webshop and click
Save.

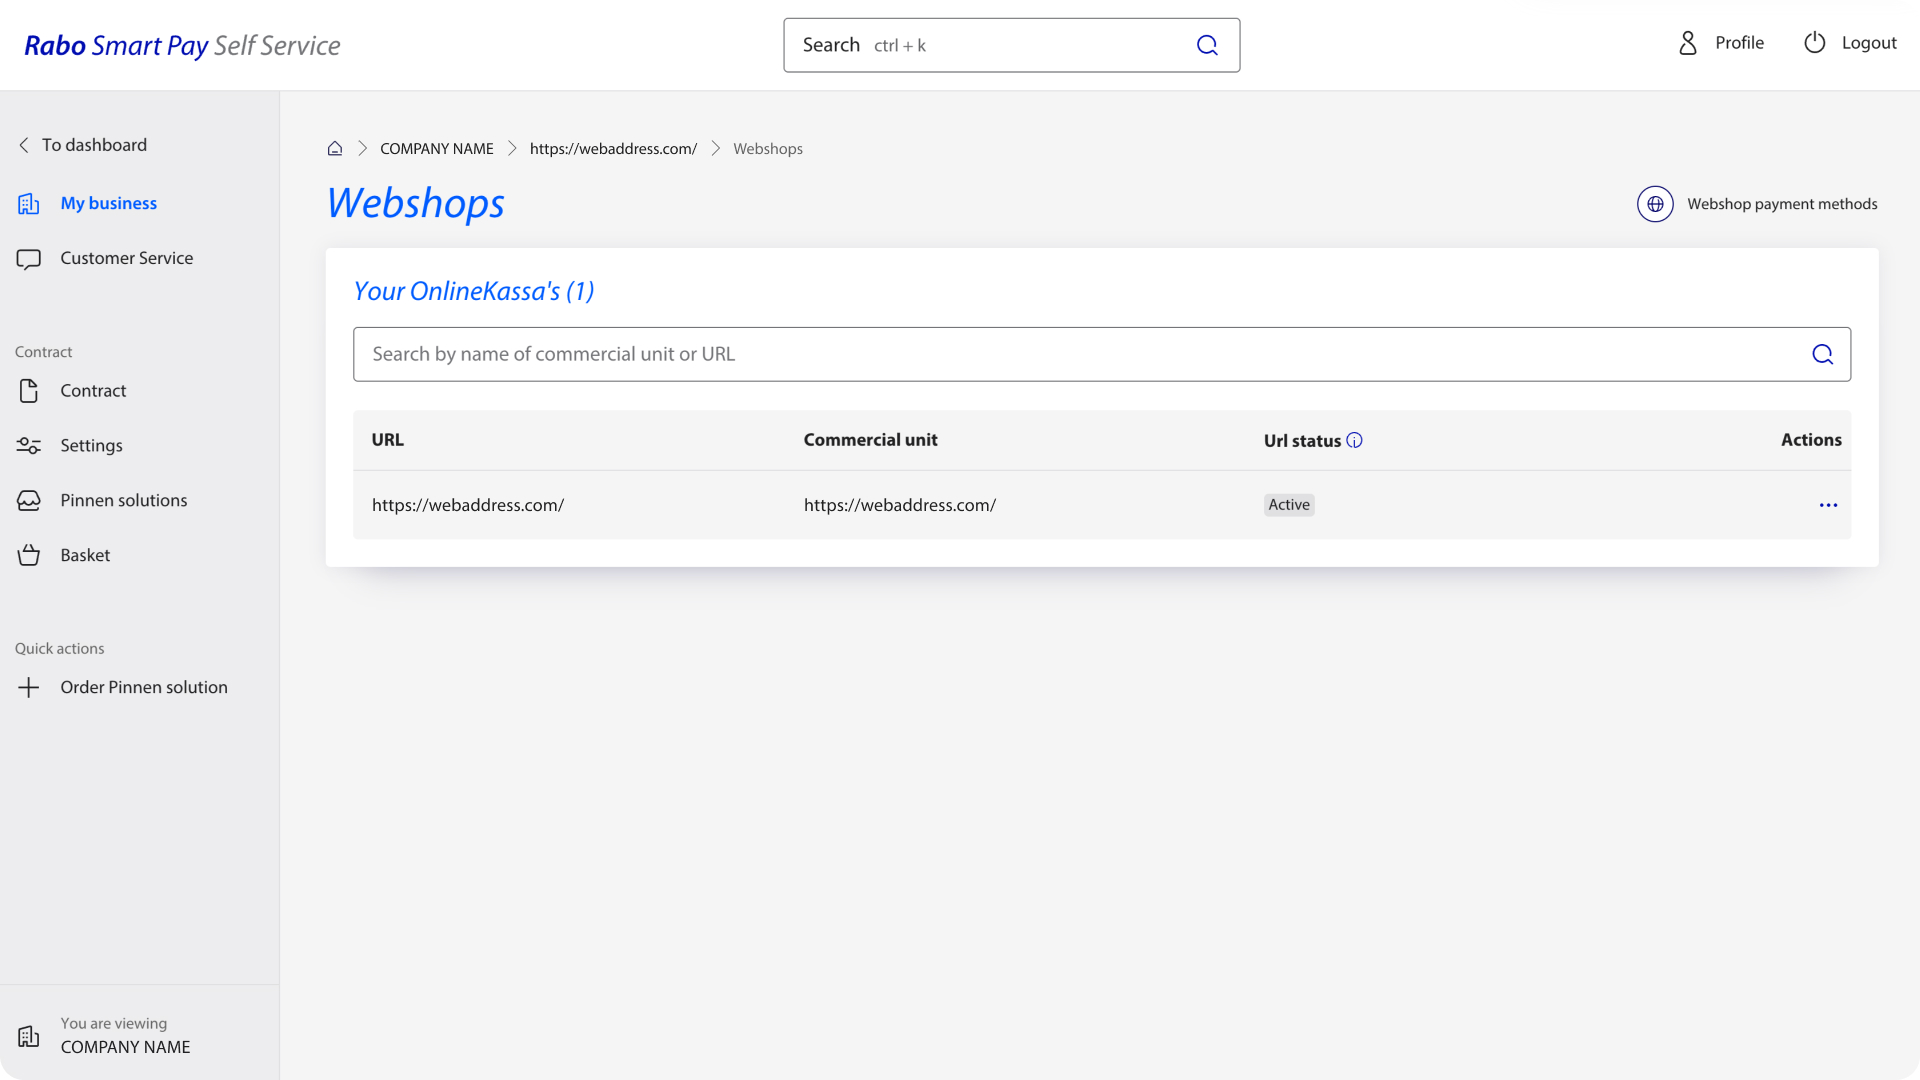
- Click on
manageunderwebshopsfor the commercial unit you just created.
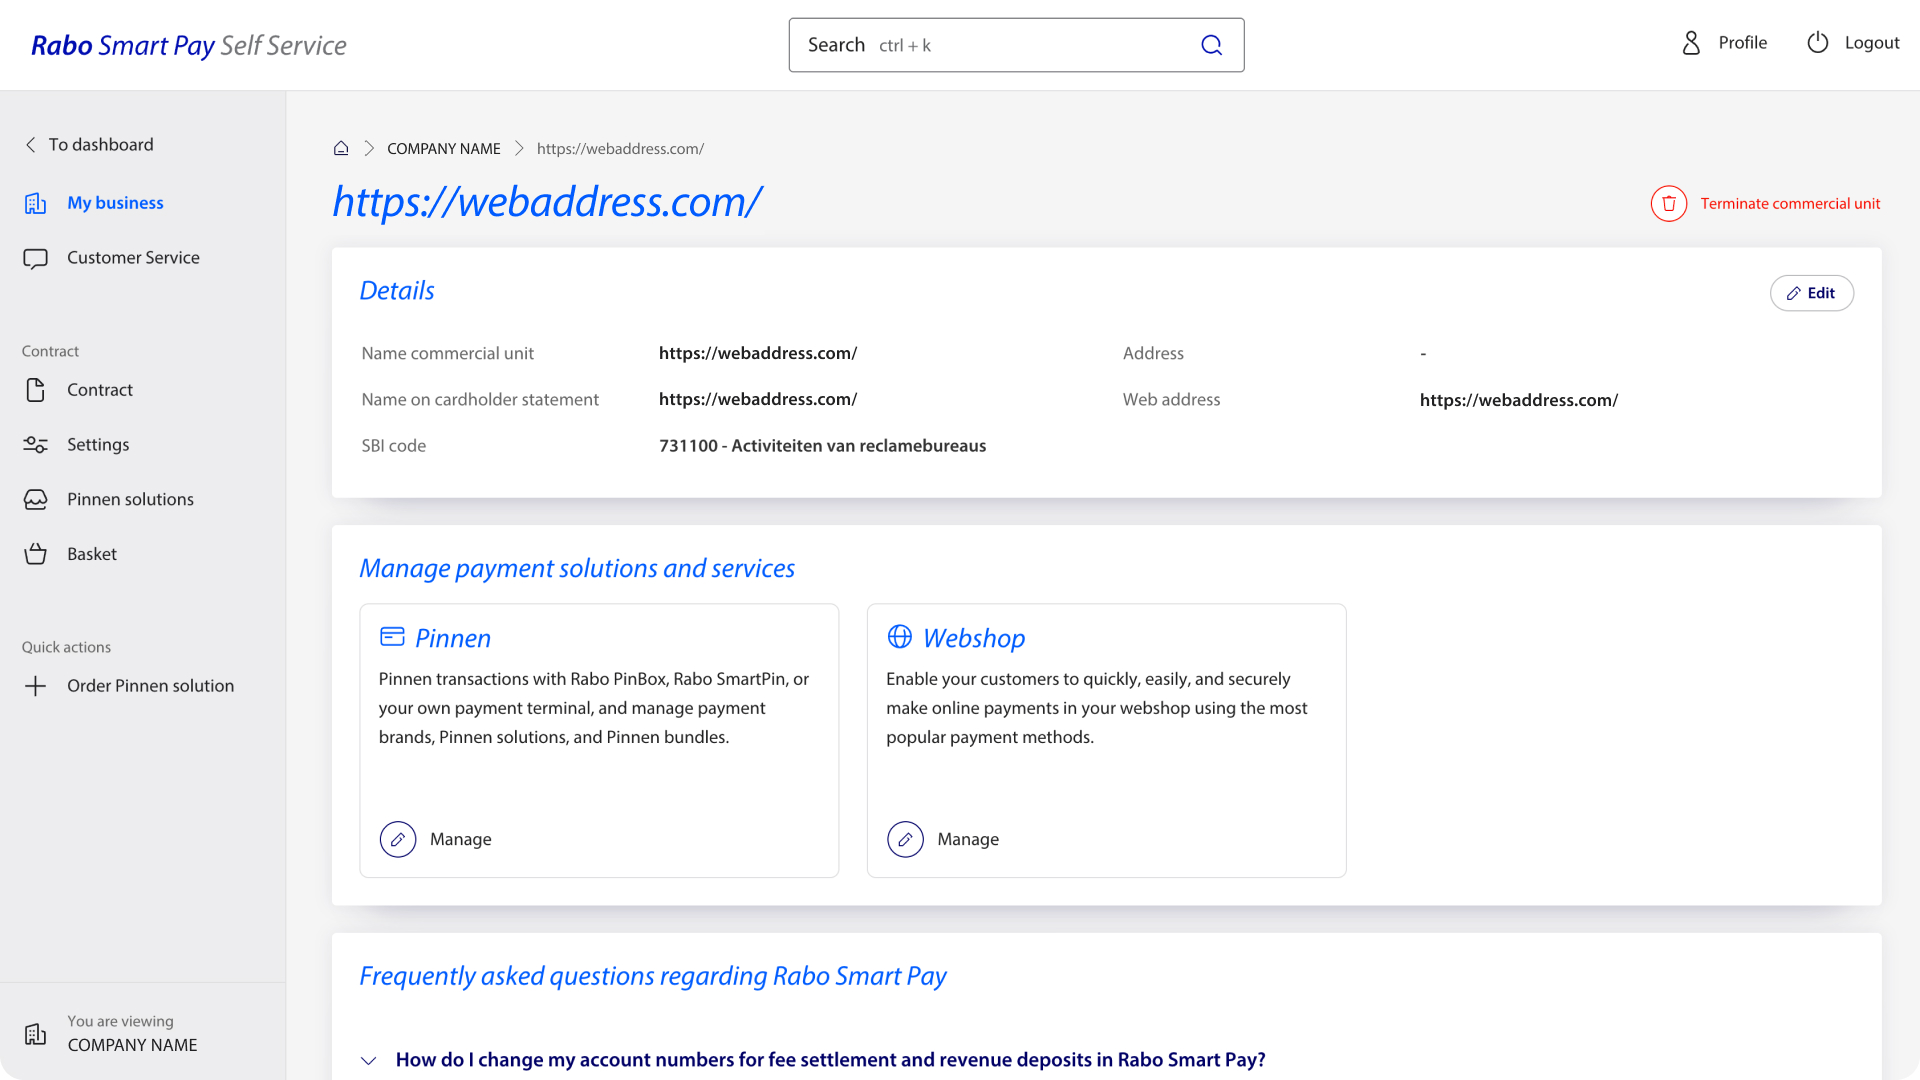
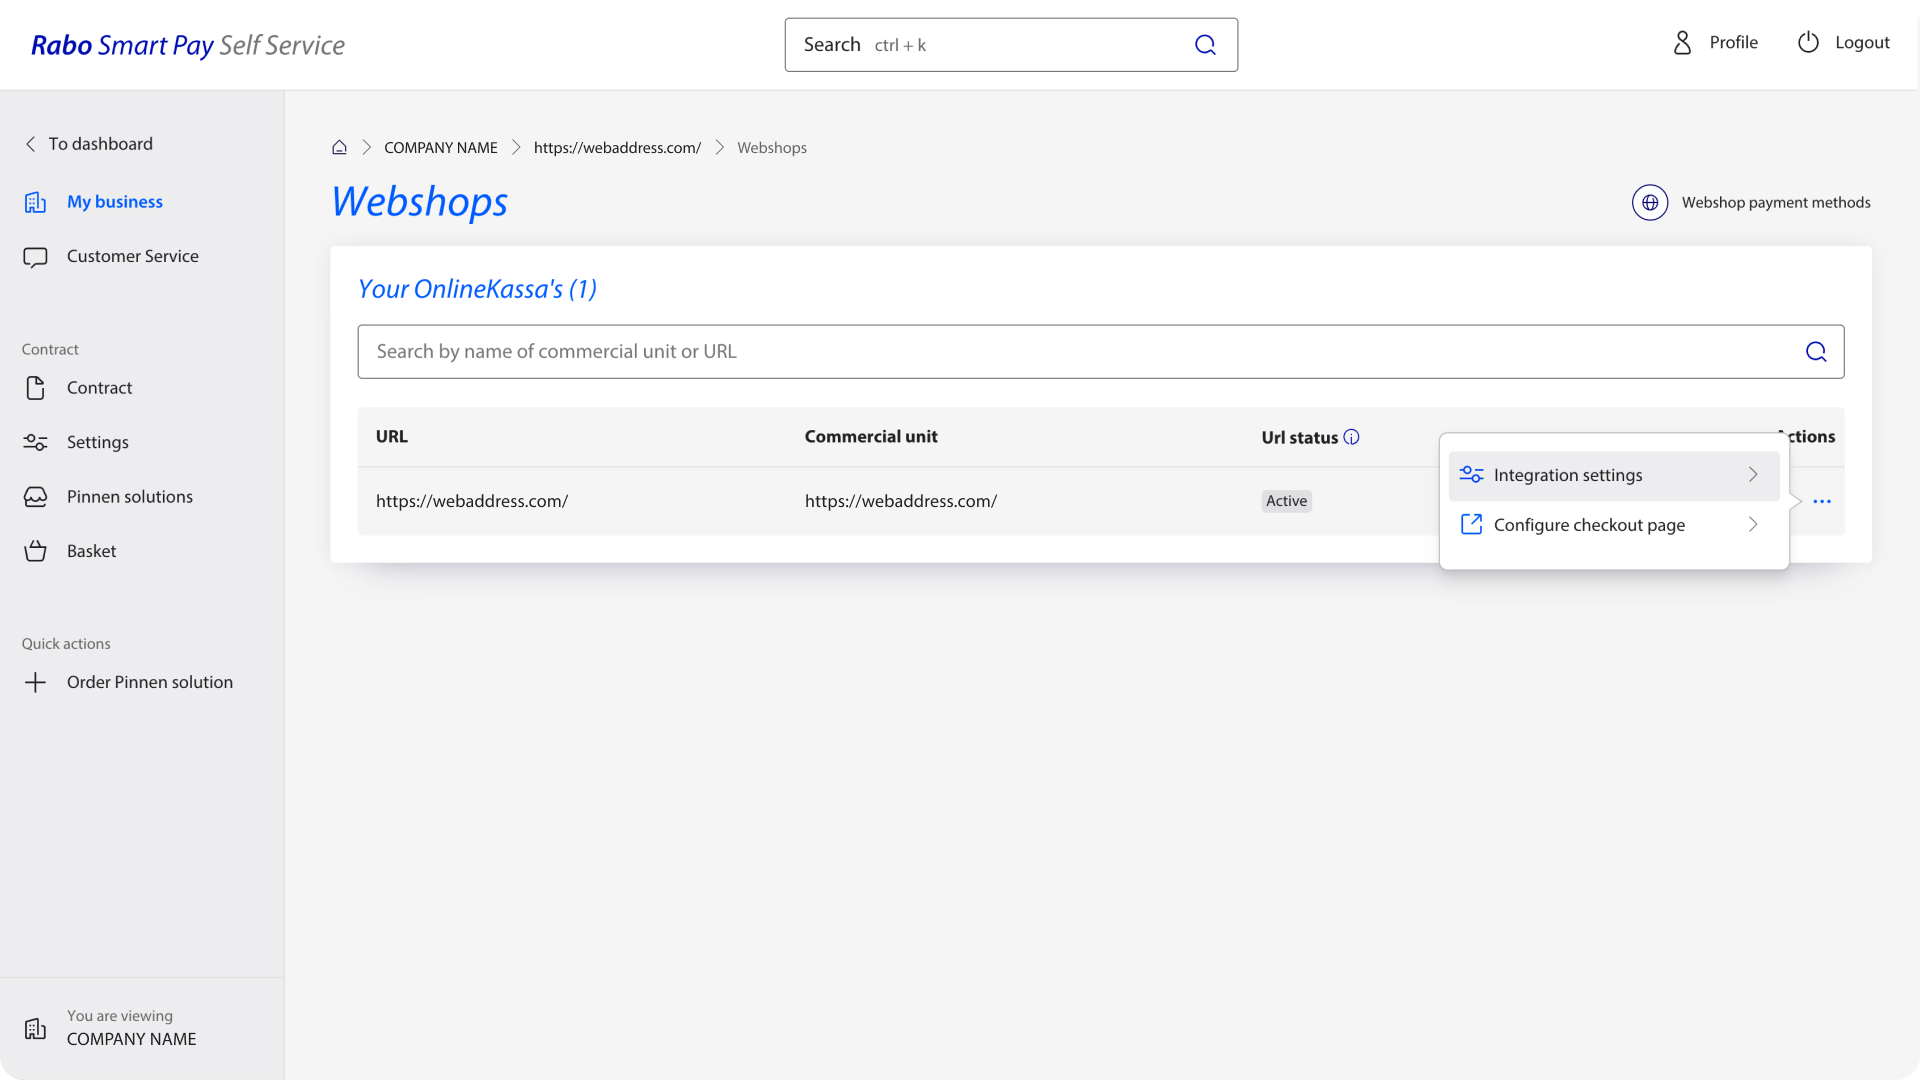
- Under
actionsclick onIntegration settingsand then onGenerate new keys.
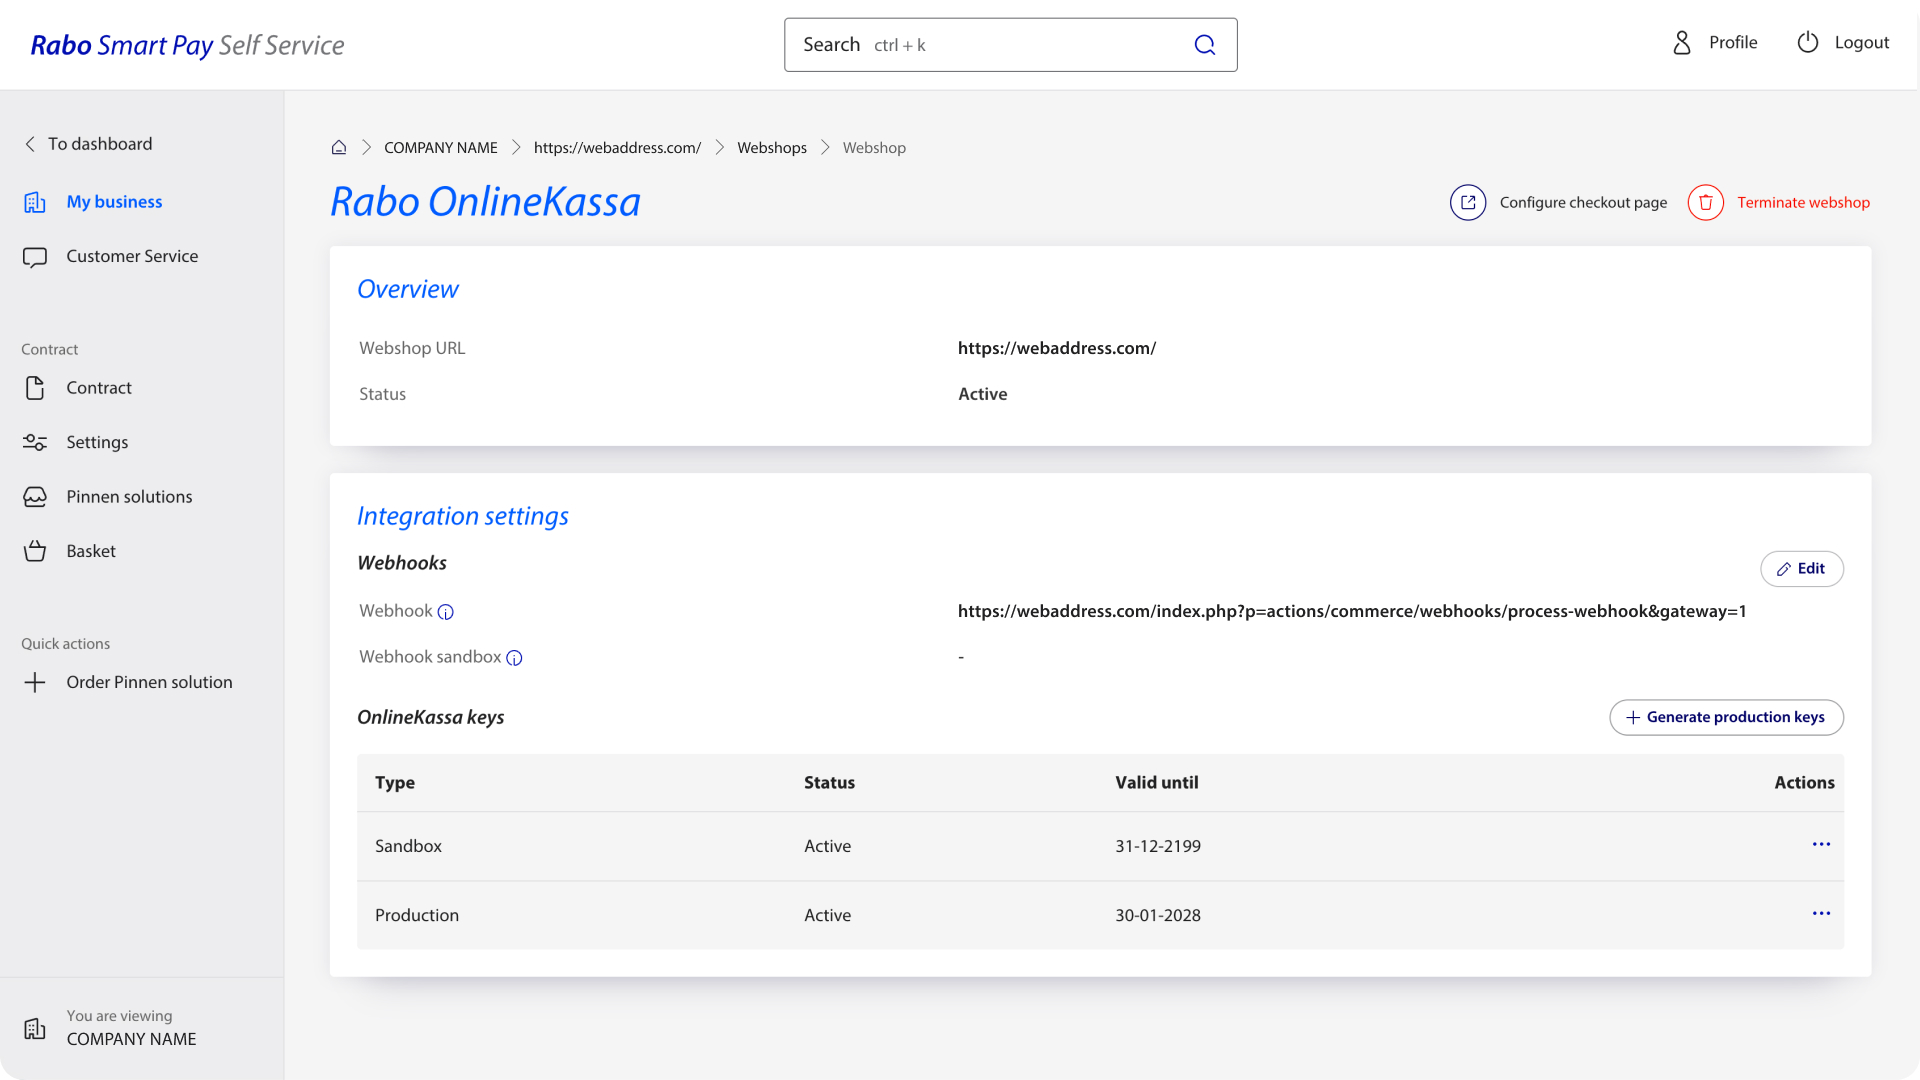
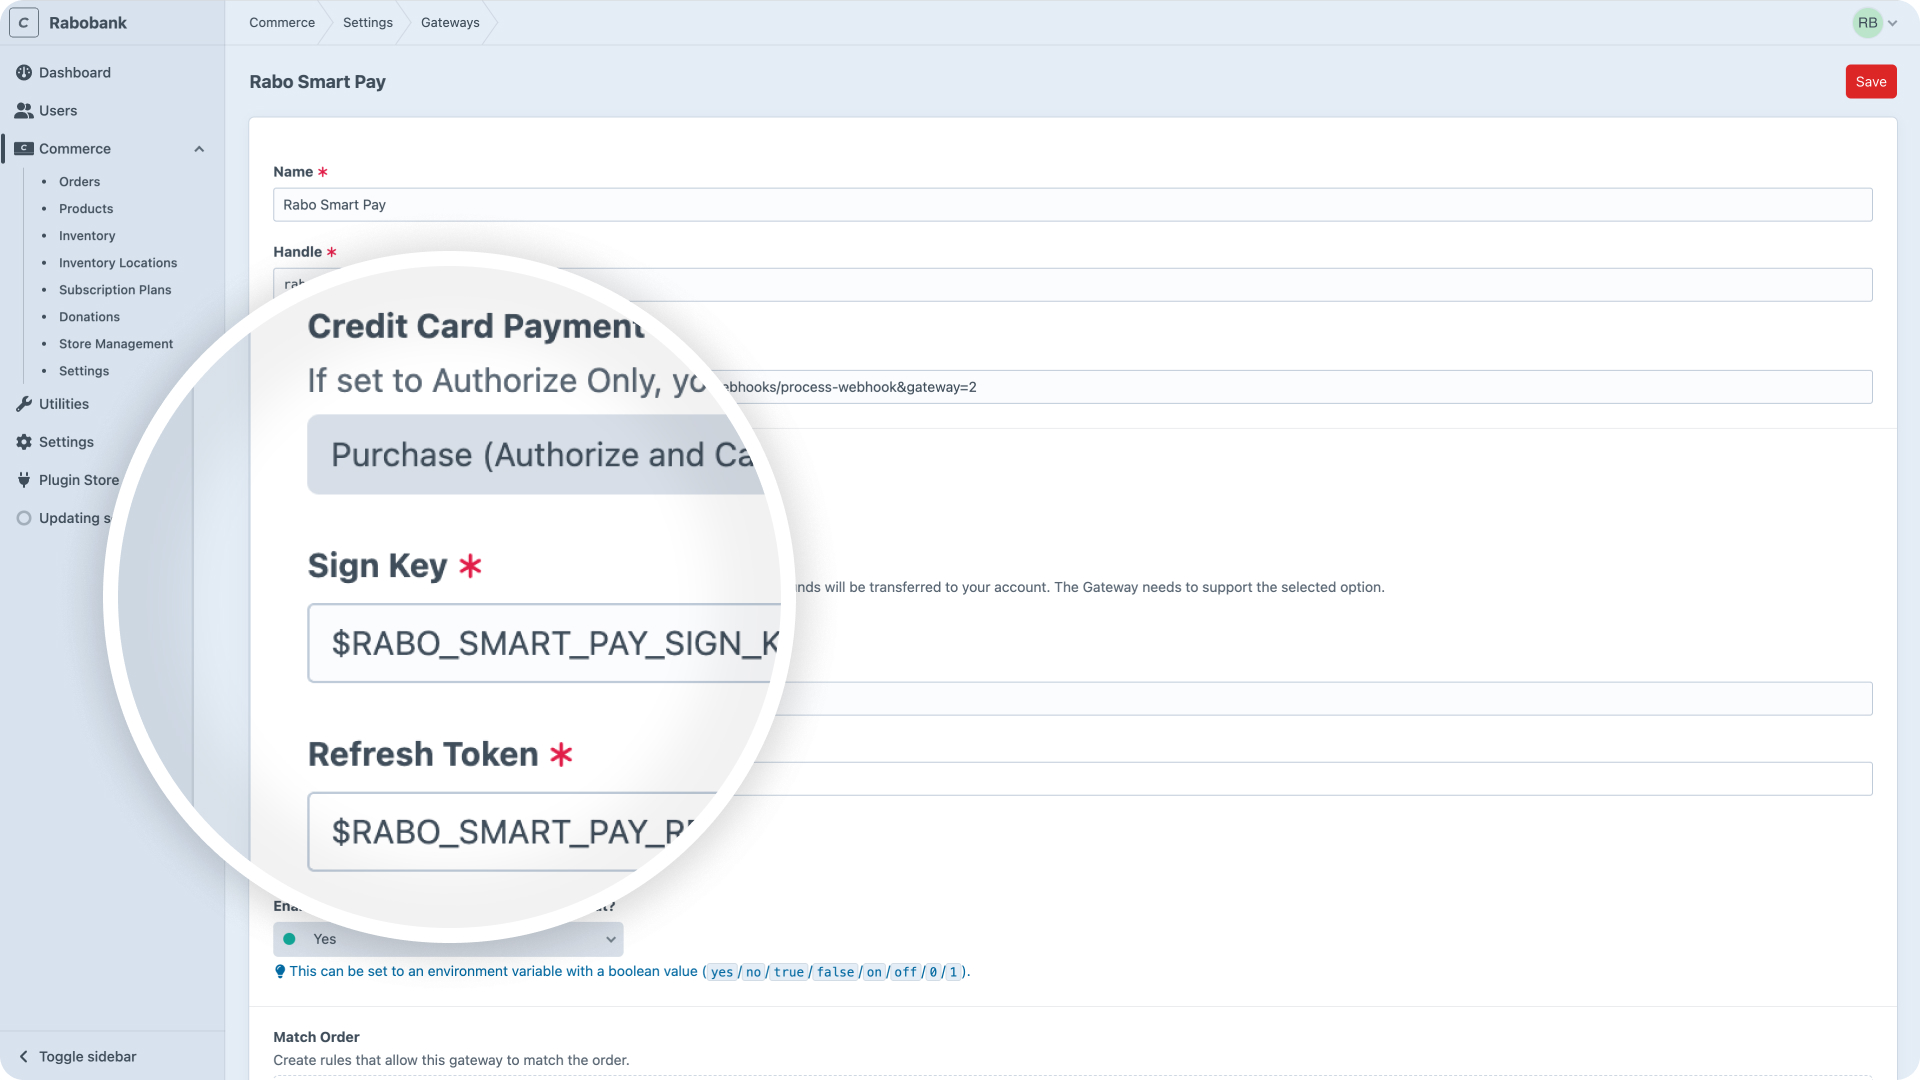
- Copy the
Signing keyandRefresh tokenand fill in the plugin settings
- After saving the gateway settings, a webhook URL will be generated. Copy this URL and add it to the
Webhook URLfield in the Rabo Smart Pay dashboard (see step 5 in the 3th image).
Pay attention that this webhook URL is different for each environment (e.g. local, staging, production). You will need to add the correct webhook URL for each environment in the Rabo Smart Pay dashboard. You can get the correct webhook URL for each environment by going to the gateway settings in your Craft Control Panel and copying the generated URL, or by running the following command in your terminal:
./craft commerce/gateways/webhook-url <gatewayHandle>
The API Key setting can be set to environmental variables. See Environmental Configuration (opens new window) in the Craft docs (English) to learn more about this topic.
# Frontend
An example payment method selection form comes with the install of the plugin, but can be adjusted to your needs. You can add custom styling, display icons and run custom code.