Assets
In this chapter, you’ll learn how to organize and manage files in Craft through the Assets menu. In most cases, these are images, but Word documents, Excel sheets, PDFs, and similar files can also be uploaded.

Files are stored in a folder at a specific location, depending on the situation. Both the Craft test environment and the production environment may use the same files. Therefore, keep in mind that deleting a file in the test environment may also remove it from the production environment, which could cause the website to malfunction.
# Page overview
Components that have already been covered in the chapter General operation of the overview page are not described again here.
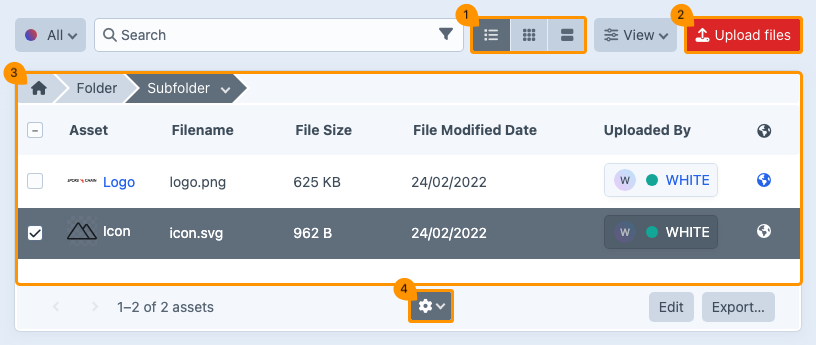
# View options overview page
(regarding image block 1)
There are three display options: table view, thumbnail view, and card view. Using the button in the top right corner, you can easily switch between these views.

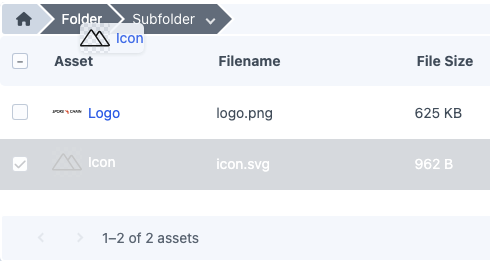
# Uploading Assets
(regarding image block 2)
You can use the Upload files button to add one or more local files to your Craft environment at the same time. Commonly used file formats include PDF, PNG, JPG, and SVG.

You can also upload files by dragging them directly into your browser window. The upload will start automatically.
The maximum file size depends on the settings of both Craft and the server on which Craft runs. This is often set to 16 MB per file. We recommend using images with the highest possible resolution. If you have any doubts or encounter limitations, please contact the developer.
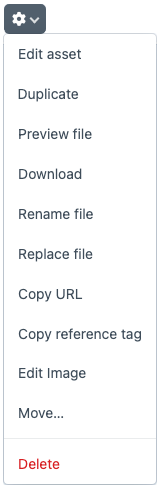
# Organise Assets
(regarding image block 3)
# Drag & Drop
With drag & drop, you can easily organize files by moving them to a created folder or subfolder.
The path to the image will be updated automatically.
Keep in mind that changes to the image path may affect its discoverability.
# Folderoptions
A downward arrow is displayed next to the name of a folder or subfolder. Click it to open a menu with specific options for that folder.

| Function | Description |
|---|---|
| New subfolder | Create a new subfolder within an existing folder. |
| Rename folder | Rename an existing folder. |
| Move folder | Move a folder to another location. |
| Delete folder* | Permanently delete a folder. |
The folder name becomes active once you click it in the path, only then will the arrow appear.
*When deleting a folder, all its contents will be lost without warning!
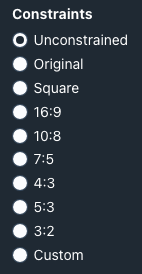
# Gear menu
(regarding image block 4)
In Craft, it is possible to edit files after they have been uploaded. Select the file you want to modify and click the gear icon that appears at the bottom center of the page. Keep in mind that some of the displayed options may originate from installed plugins.
When you select multiple files at once, some options in the dropdown menu may not be available, as certain actions cannot be performed in bulk.
| Function | Description |
|---|---|
| Edit asset | Open the detail page of the file. See also the chapter detailpage assets for more information. |
| Duplicate | Duplicate the file. |
| Preview file | Show a preview of an image. |
| Download | Select one or more files and choose Download to save them locally. |
| Rename file | Visitors see the name of an image when downloading it. Therefore, it’s useful to be able to rename it directly without having to rename the file locally. |
| Replace file | Replace the selected file with a new one. This allows you to update images that appear in multiple places on your website with a single upload, without having to manually remove and re-link them everywhere. |
| Copy URL | Copy the file link to the clipboard to share it directly. |
| Copy reference tag | Each item has a unique ID, which is primarily used by Craft behind the scenes. |
| Edit image | Open the image in the Craft Image Editor, where you can make simple edits without using a separate program. Changes are immediately visible across the entire website. See the chapter Craft Imgage Editor for more information. |
| Move... | Move the file to another location. |
| Delete | Select one or more images and choose Delete from the menu. |
Some file types, such as vector files (.svg), cannot be edited.
# Craft Image Editor
# Menu rotate

| Function | Description |
|---|---|
 | Rotate the image to the left in 90° increments. |
 | Rotate the image to the right in 90° increments. |
 | Flip the image vertically. |
 | Flip the image horizontally. |
 | When cropping an image, you can set a focal point. Select Focal Point and click on the desired spot in the image. Craft will use this later to automatically crop the image, reducing the need for unnecessary variations. |
 | Use the turn wheel to rotate an image in 1° increments. |
# Menu Crop

| Function | Description |
|---|---|
 | At the top, you can set the proportions horizontally or vertically. |
 | A grid appears over the image. Drag a corner to adjust the size; everything outside the grid will be cropped. You can also choose a preset ratio, such as square, 16:9, and so on. |
# Other options
| Function | Description |
|---|---|
 | Go back to the previous page. Changes will not be saved. |
 | Changes are saved in a copy. |
 | Go back to the previous page. Changes will be saved. |
# Detailpage
Click the file title to go to the detail page.
# Title
(regarding image block 1)
After uploading a file, the file name is displayed here as the title. You can edit the title if desired.
# Save
(regarding image block 2)
Click Save to store the changes you’ve made. Once the changes have been saved successfully, you’ll return to the overview page.

Next to the red button, you’ll find a dropdown menu with additional options.

| Function | Description |
|---|---|
| Save and continue editing | Save your edits temporarily. You will not leave the page. |
Use CTRL+S or CMD+S to save your progress and continue editing.
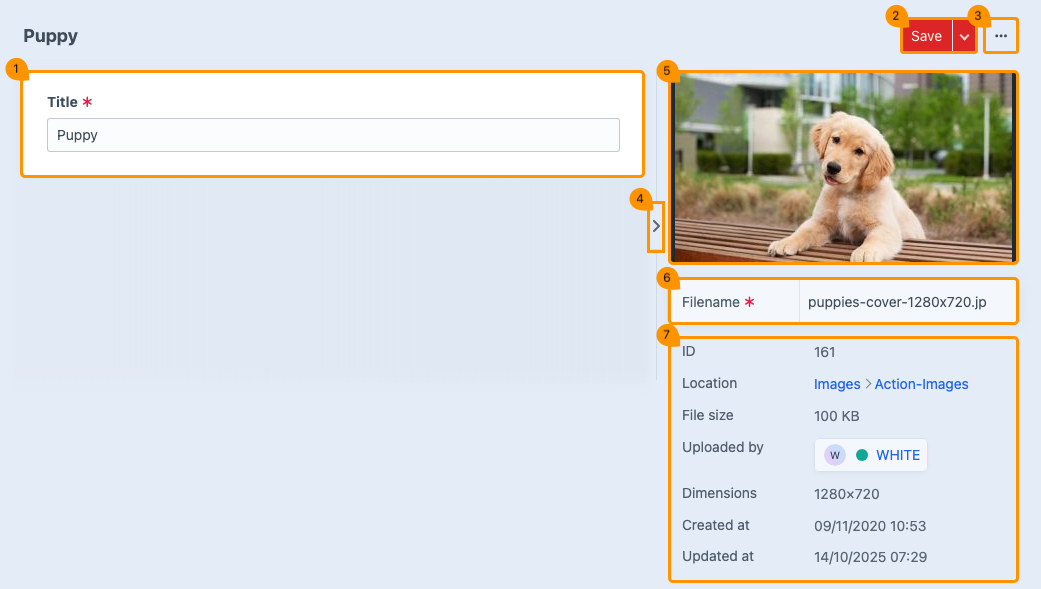
# Other options
(regarding image block 3)
| Function | Description |
|---|---|
| View in a new tab | Open the file in a new browser tab. |
| Preview file | Display a preview over the current page. Press ESC to exit the preview. |
| Download | Save the file locally. |
| Show in folder | Display the folder where the file is stored. |
| Replace file | Replace the file with a new one. The updated image will appear everywhere it is used on your website. |
| Open in Image Editor | Edit the image in the Craft Image Editor. See chapter Craft Image Editor for more information. |
| Delete asset | Delete the file. |
The available options in the menu depend on the file type.
# Hide details
(regarding image block 4)
Click the arrow to hide the details section. This provides more space on the detail page.

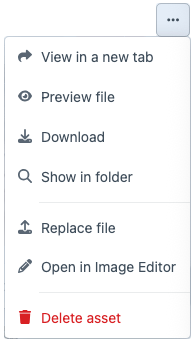
# Preview
(regarding image block 5)
When you hover over the preview with your mouse, the options Preview and Edit Image will appear.
| Function | Description |
|---|---|
| Preview | Open a preview over the current page. Press ESC to exit the preview. |
| Edit Image | Edit the image in the Craft Image Editor. See the chapter Craft Image Editor for more information. |
# Filename
(regarding image block 6)
If necessary, the file name can be modified here.
Don’t forget to include the file extension. Otherwise, this will result in an error message.
# Asset details
(regarding image block 7)
| Function | Description |
|---|---|
| ID | Unique number of the file. |
| Location | Displays the path where the file is stored. |
| File size | Displays the size of the file. |
| Uploaded by | Displays which user uploaded the file. |
| Dimensions | Displays the dimensions of an image. |
| Created at | Date and time of upload. |
| Updated at | Date and time of modification. |
If you use the imgIX service, it’s best to upload the image in the highest possible quality, but no larger than 16 MB — this is the maximum allowed in Craft.
The details displayed depend on the file type.